If a job is worth doing, it’s worth doing well. Follow our guide to planting water lilies and make sure you give your new pond feature the best chance of putting on a wonderful summer display.
We send out most of our plants bare rooted to keep delivery costs down and reduce our carbon footprint. This means that you will need to pot them up when they reach you. Even if you buy water lilies in pots, except for pygmy varieties like pygmaea Helvola, you will certainly need to re-pot them immediately as the 1lt pots they come in are too small to enable them to flower for you..
So let us answer such questions as do I need to plant my water lily in soil? Which way up should I plant my water lily? and How deep should I plant my water lily?
Planting water lilies perfectly
Step 1 – For ease of maintenance, we recommend planting your water lilies into mesh planting baskets. Most lilies should be planted into a 10ltr basket.
Step 2 – Plant into the heavy soil-based loam, free from chemicals and with no added peat or other vegetable matter. Neither light, sandy soil, chalk nor raw clay is suitable. NEVER add peat or compost to the soil.
Step 3 – If you are lucky enough to have heavy loam soil in your garden, can use soil straight from your garden. If you don’t have access to this lovely stuff, we recommend Westland Aquatic Compost which is available from all major garden centres. (Not sure about your soil? Squeeze a handful of soil from your garden into a ball. Throw it up and catch it, if it doesn’t break, you are in luck!)
Step 4 – Fill the basket ¾ full of soil, pressed well down to make it really firm.
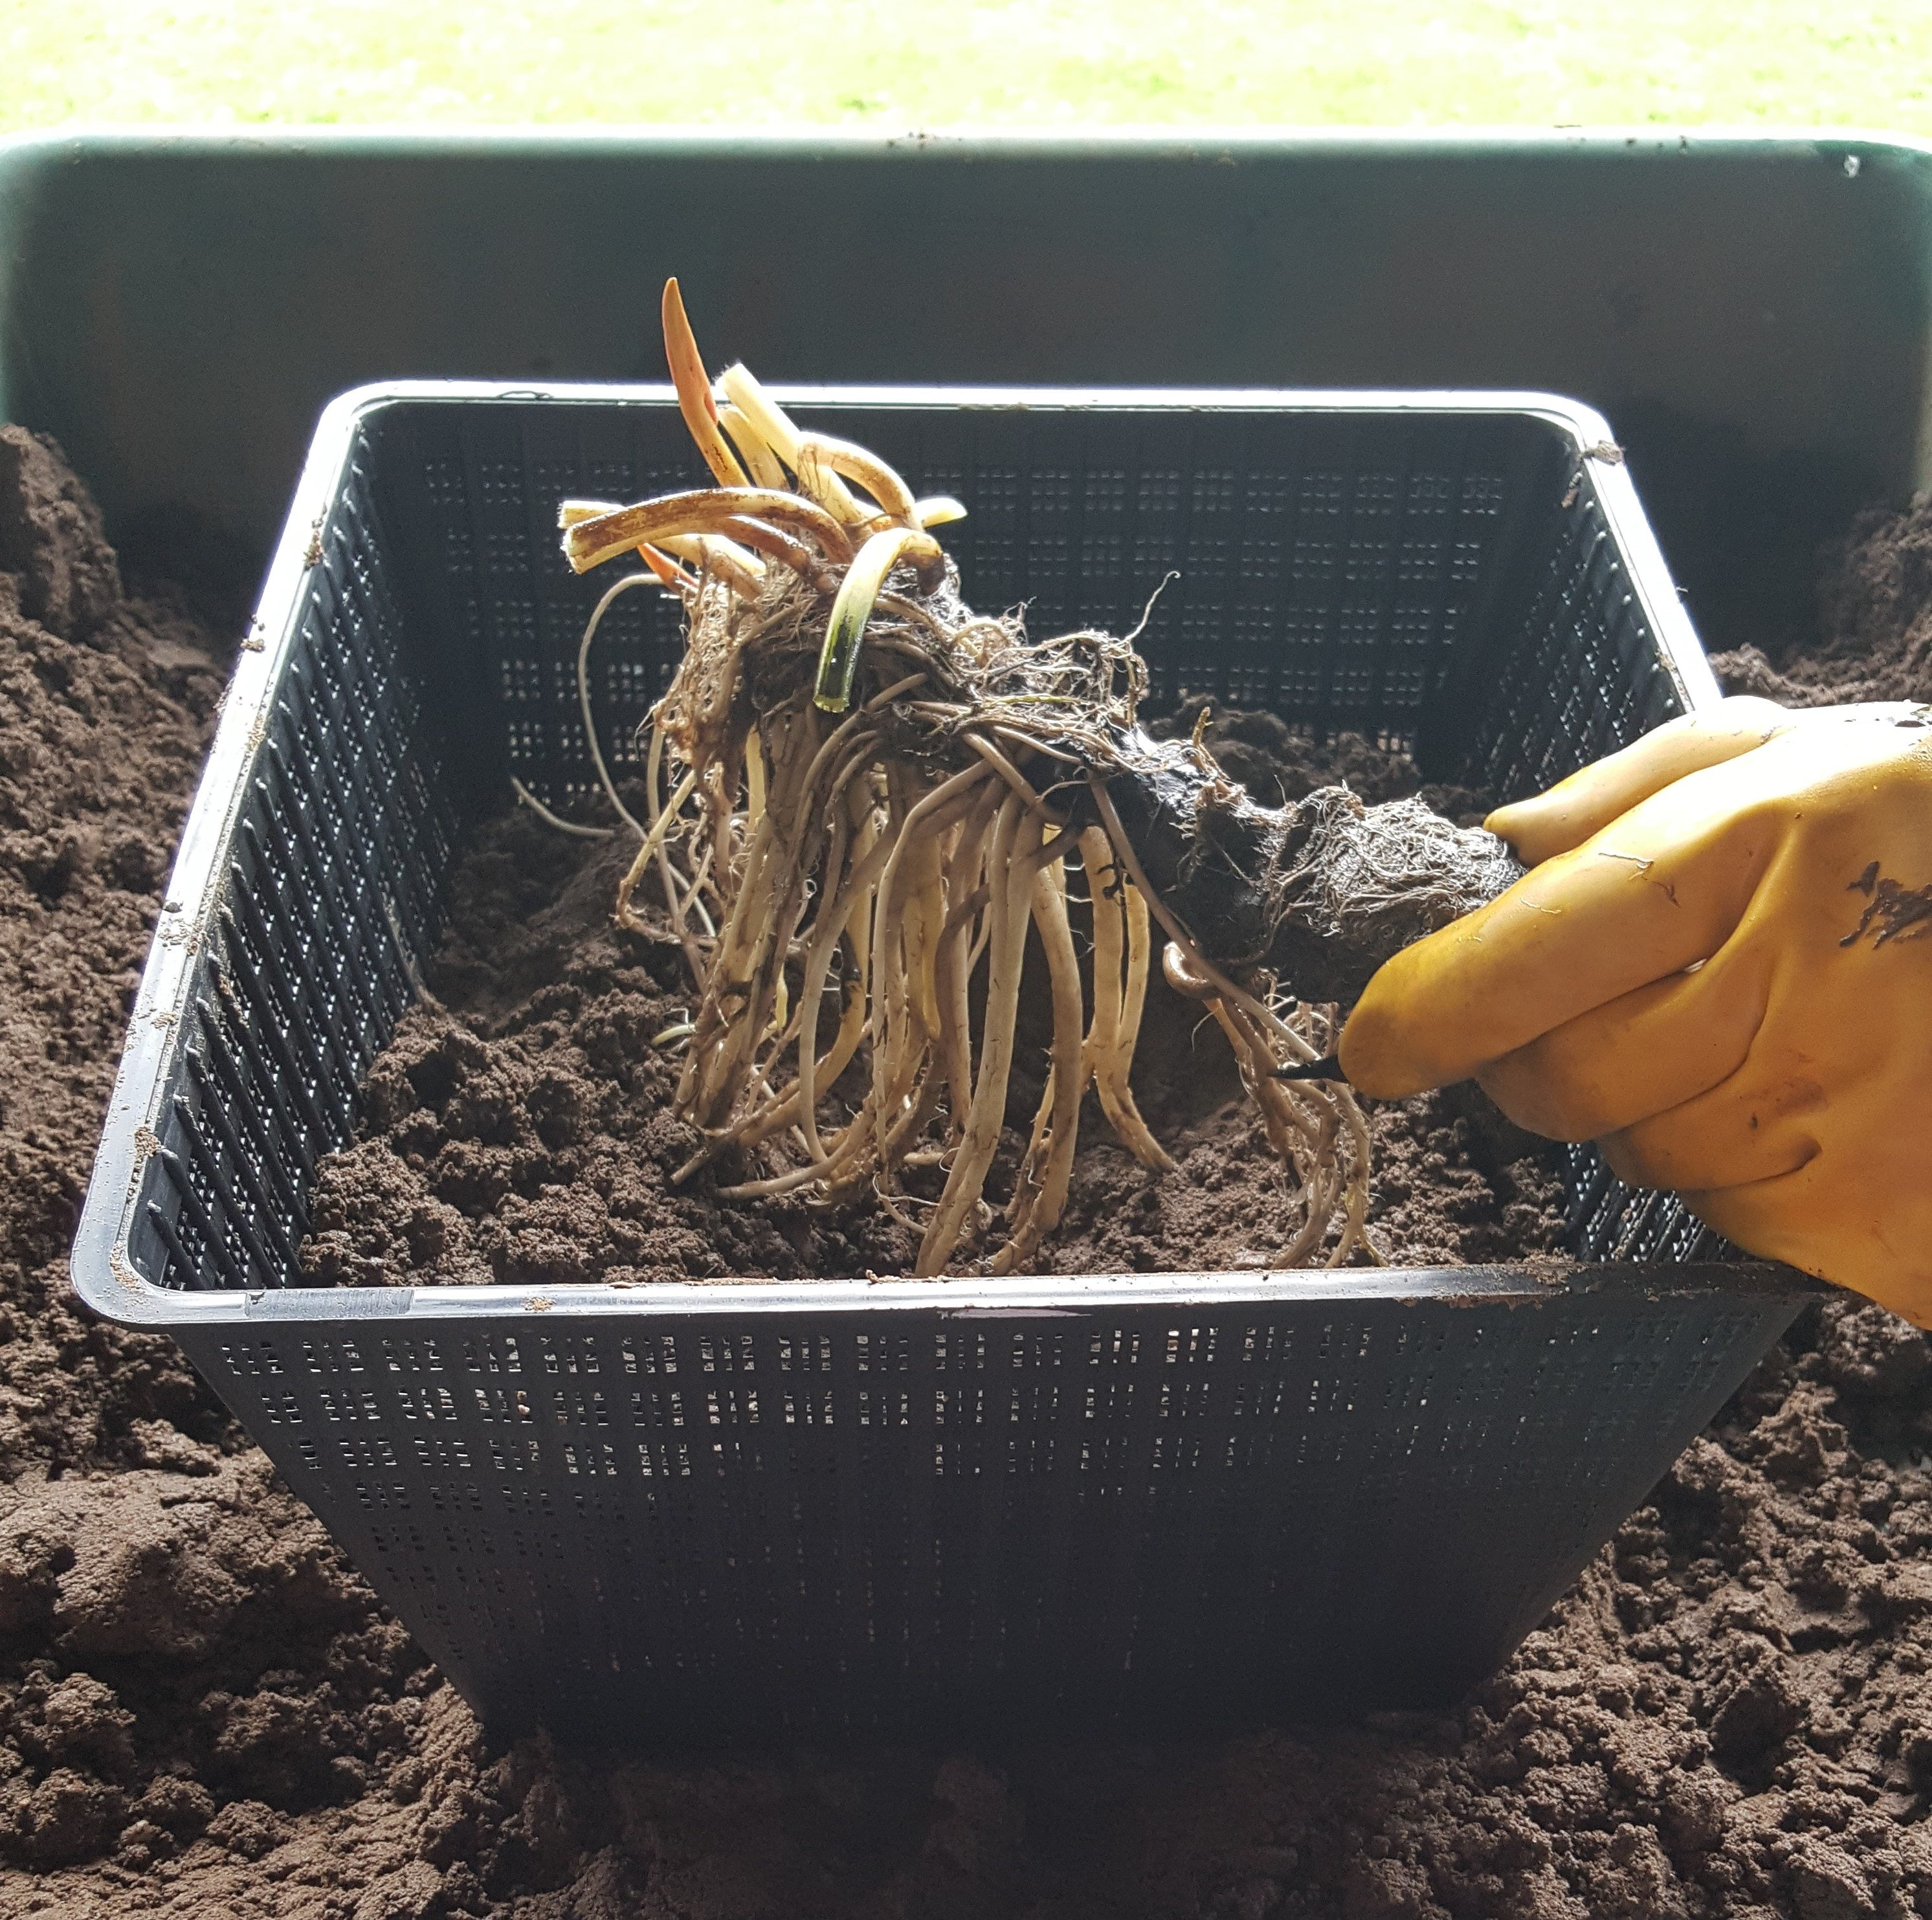
Oderata rhizome
Marleac rhizome
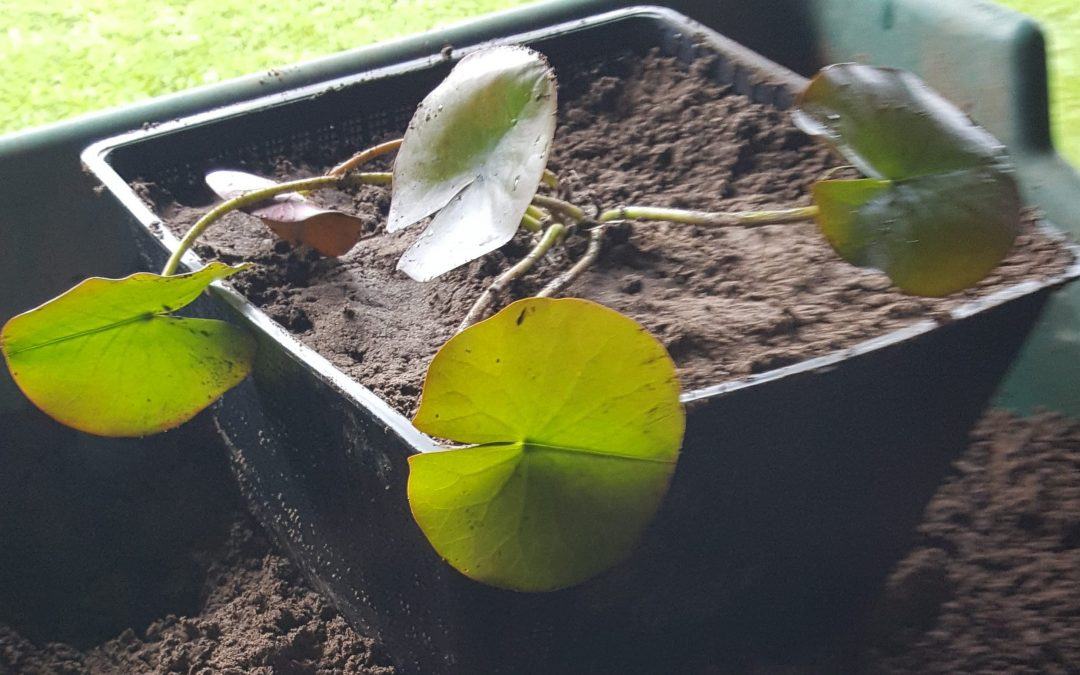
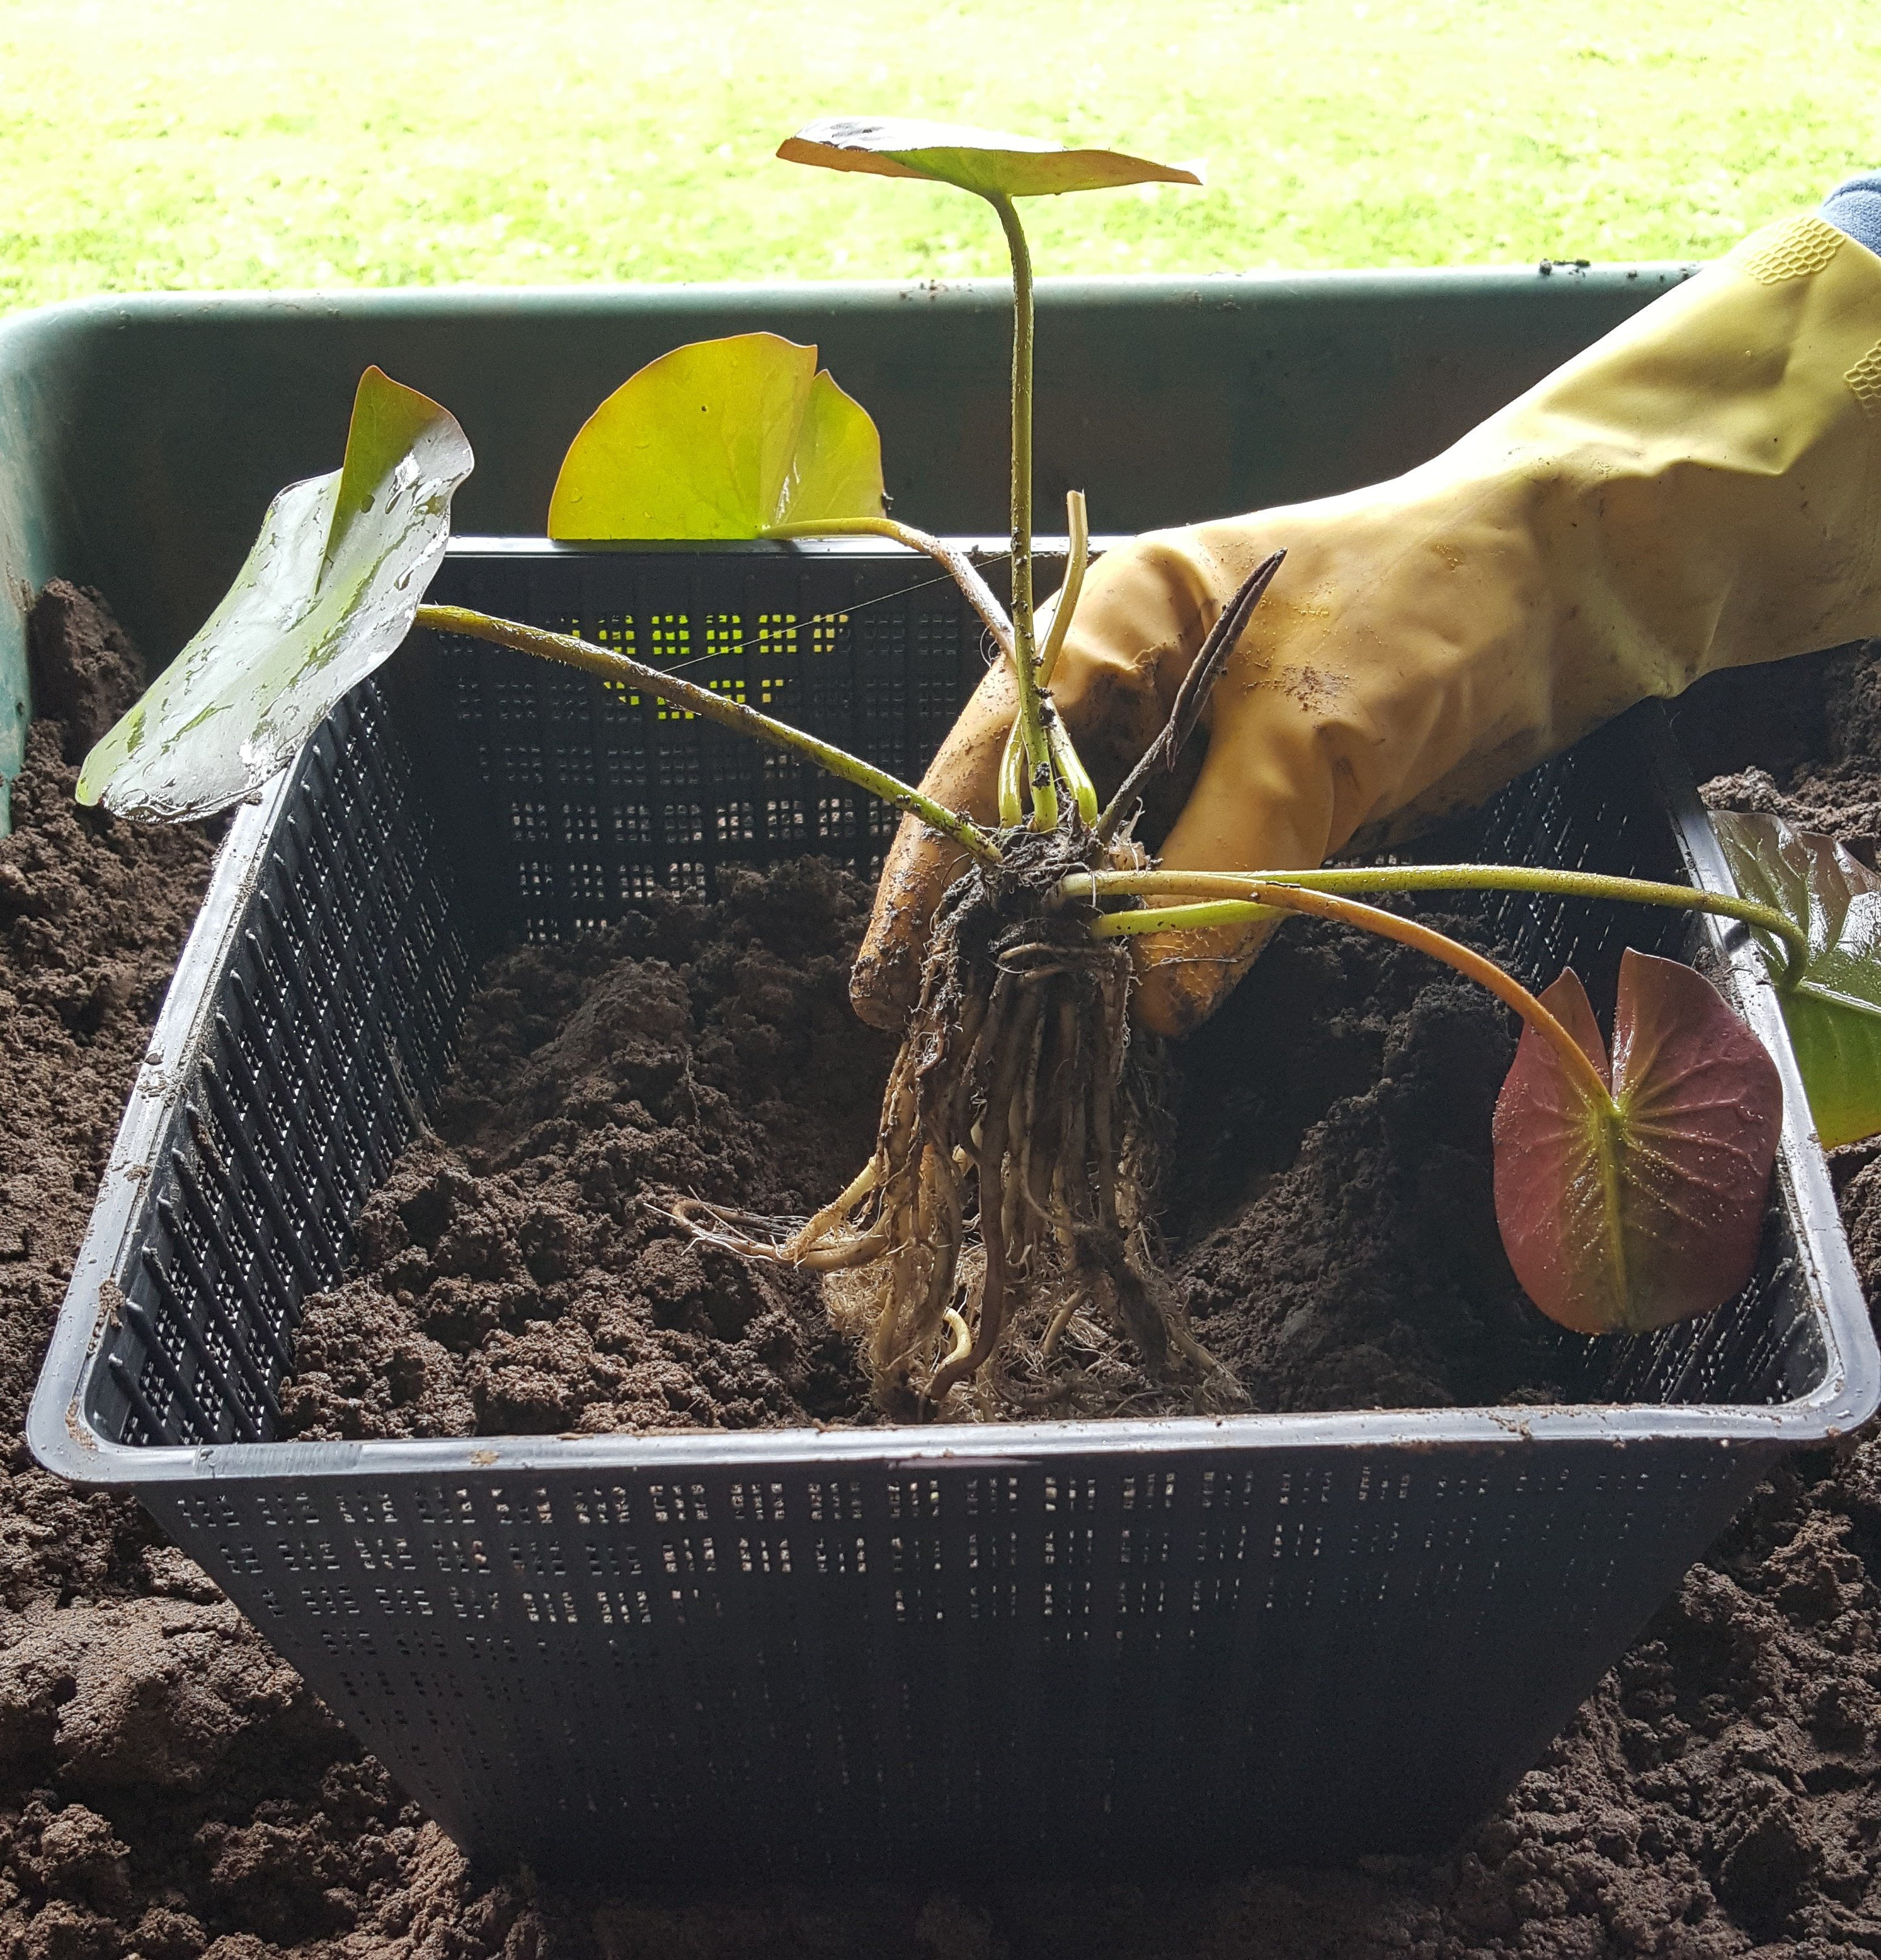
Step 5 – Hold the rhizome above the surface of the soil with any shoots uppermost and roots below.
Step 6 – Fill around the rhizome with soil, press really firmly. Ensure that the rhizome is exposed at the growing point of the shoots.
Step 7 – For all oderata lilies, position the rhizome horizontally and fill in with soil leaving the top of the rhizome just proud of the surface. With large oderata rhizomes, place a brick or large stone on top of the rhizome to stop it from floating up to the surface of the water.
Step 8 -Top dress with 1-2cms washed pea gravel.
And you’re done! Taking care to ensure you are planting water lilies properly will mean you get years of enjoyment as they flower in your garden pond.